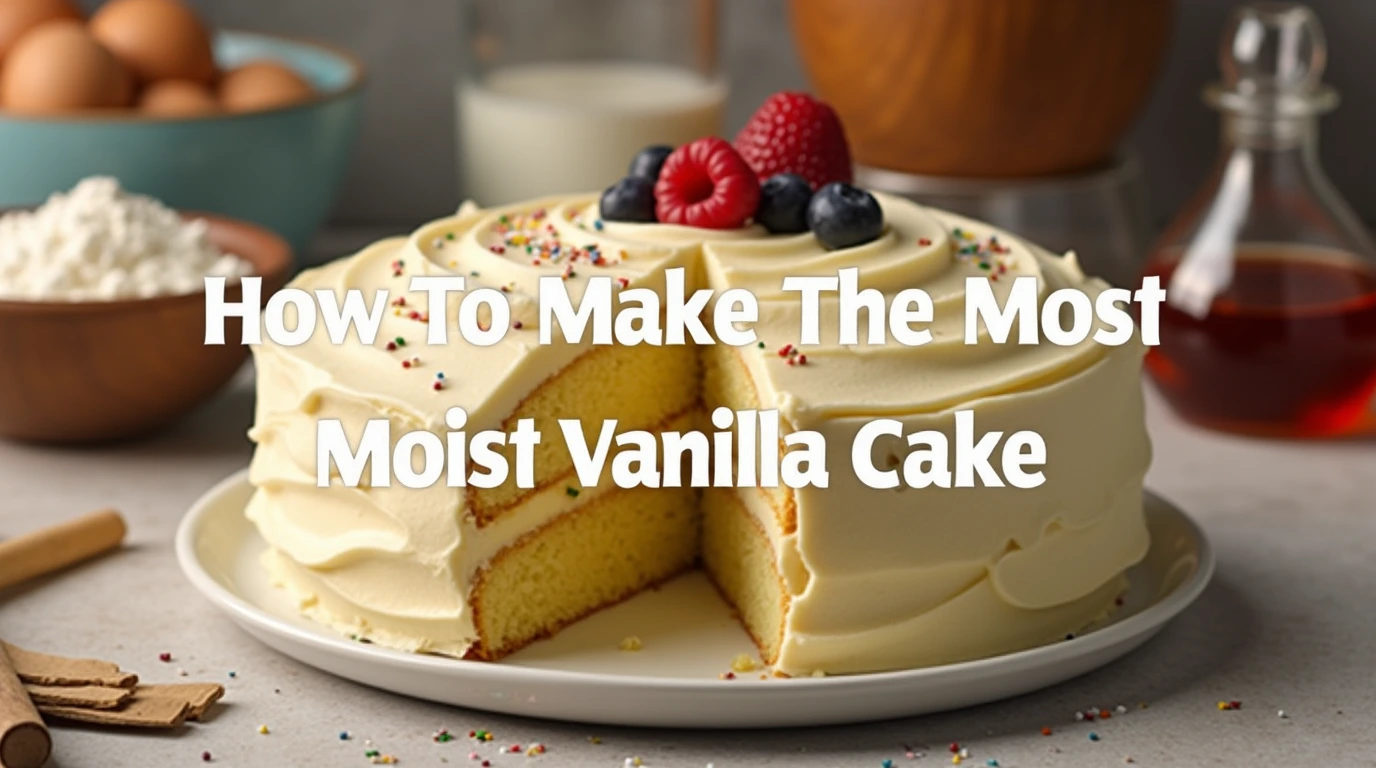
How To Make The Most Delicious Moist Vanilla Cake In Just 7 Steps
Engaging Introduction:
Have you ever wondered why some cakes feel like a fluffy cloud while others turn out dry and crumbly? What’s the secret to creating that perfect moist vanilla cake everyone raves about? Well, it’s not magic—it’s technique! Today, we’ll uncover the steps to baking the most delicious moist vanilla cake in just seven simple steps. Are you ready to transform your kitchen into a bakery?
Table of Contents
Overview:
This recipe is special because it combines classic techniques with modern twists to ensure every slice of your cake is as soft and flavorful as possible. Best of all, this moist vanilla cake can be made in under an hour, making it perfect for busy days or last-minute gatherings. With its easy-to-follow instructions, even beginners will find success without breaking a sweat. This recipe ranks at a beginner difficulty level, so anyone can master it!
Essential Ingredients:
Here’s what you need to create this dreamy dessert:
- All-Purpose Flour : Forms the structure of the cake. You can substitute with cake flour for an extra light texture if desired.
- Granulated Sugar : Adds sweetness and helps tenderize the cake. Brown sugar could also work for added depth of flavor.
- Butter & Oil : Creates richness and moisture. Using both ensures the cake stays tender longer.
- Eggs : Act as binding agents and contribute to leavening. Room temperature eggs blend better, resulting in a smoother batter.
- Milk : Provides hydration and creaminess. Whole milk works best, but almond or oat milk are great substitutes for dairy-free options.
- Vanilla Extract : Enhances the flavor profile. Use pure extract over imitation for richer taste.
- Baking Powder & Baking Soda : Help the cake rise evenly. Don’t skip these; they’re crucial!
- Salt : Balances flavors and enhances sweetness. A pinch goes a long way.
Step-by-Step Instructions:
Step 1: Prepare Your Tools and Ingredients
Preheat your oven to 350°F (175°C). Grease two 8-inch round pans and line them with parchment paper. Measure out all ingredients beforehand to avoid mistakes during mixing.
Step 2: Mix Dry Ingredients
In a large bowl, whisk together flour, baking powder, baking soda, and salt. Sifting the flour removes lumps and creates a lighter cake.
Step 3: Cream Butter, Oil, and Sugar
Using a stand mixer or hand mixer, beat softened butter and oil until creamy. Gradually add sugar and continue beating until light and fluffy. This step incorporates air, which contributes to the cake’s airy texture.
Step 4: Add Eggs One at a Time
Crack each egg into the mixture individually, ensuring each one is fully incorporated before adding the next. Beat well after each addition.
Step 5: Incorporate Wet Ingredients
Mix in vanilla extract followed by half of the milk. Alternate between adding dry ingredients and remaining milk in three parts, starting and ending with the dry mix. Be careful not to overmix, as this can lead to a dense cake.
Step 6: Pour Batter Into Pans
Divide the batter evenly between prepared pans, smoothing the tops with a spatula. Tap the pans gently on the counter to release any trapped air bubbles.
Step 7: Bake and Cool
Bake for 25–30 minutes or until a toothpick inserted comes out clean. Let the cakes cool in the pans for 10 minutes before transferring them to a wire rack to cool completely.
Assembly:
Once cooled, stack the layers with your favorite frosting or filling. For a professional look, apply a thin crumb coat first, then chill the cake for 15 minutes before applying the final layer of frosting. Decorate with sprinkles, fresh fruit, or piped designs for added flair. Remember, presentation matters—it makes the cake look irresistible!
Storage and Make-Ahead Tips:
Store leftover cake in an airtight container at room temperature for up to four days. If you want to extend its shelf life, freeze individual slices wrapped tightly in plastic wrap and aluminum foil. Thaw overnight in the fridge or at room temperature when ready to serve. Reheat briefly in the microwave for a freshly baked feel.
Recipe Variations:
Feel free to experiment with different flavors and textures:
- Chocolate Swirl : Stir in cocoa powder or melted chocolate for a decadent twist.
- Lemon Zest : Add grated lemon zest to brighten the flavor.
- Spiced Vanilla : Incorporate cinnamon or nutmeg for warmth.
- Fruit Fillings : Layer the cake with strawberry jam, raspberry coulis, or caramel sauce.
Conclusion:
There you have it—a foolproof guide to baking the most delicious moist vanilla cake in just seven steps. Whether you’re hosting a party or treating yourself, this recipe guarantees happiness in every bite. So grab your apron, invite friends over, and enjoy the fruits of your labor. Happy baking!
FAQs:
Q: Can I use cake flour instead of all-purpose flour?
A: Yes! Cake flour produces a finer crumb and lighter texture. Simply replace equal amounts or adjust according to package instructions.
Q: Is there a healthier version of this recipe?
A: Substitute part of the sugar with honey or maple syrup, and use applesauce or yogurt instead of oil for fewer calories.
Q: How do I prevent my cake from sinking?
A: Avoid opening the oven door too often while baking, and ensure your leaveners (baking powder/soda) are fresh.
Q: Can I bake this cake in a single pan?
A: Absolutely! Adjust the baking time accordingly since the thicker layer may take longer to cook through.
Now that you know everything about making the ultimate moist vanilla cake, go ahead and give it a try. Who knows? You might discover your new signature dish!

