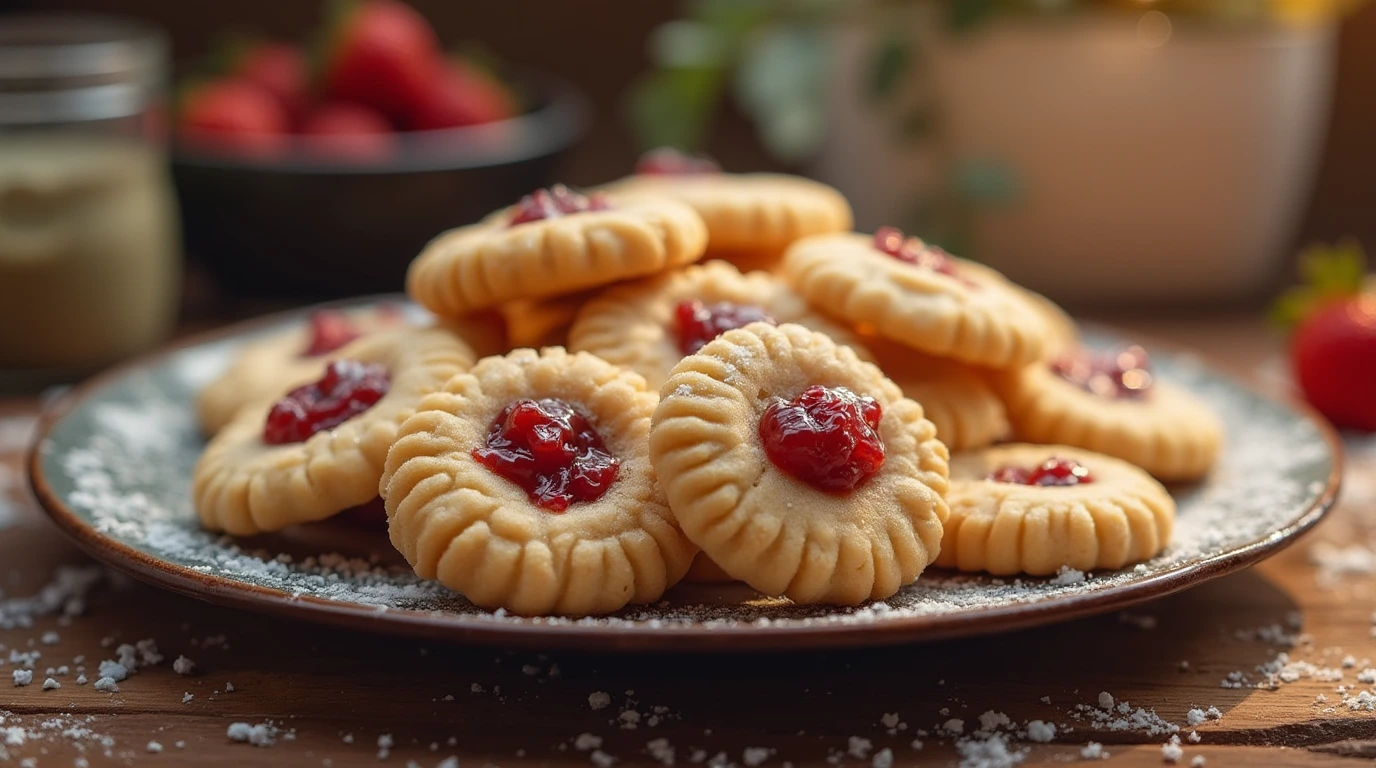
The Ultimate Guide to Classic Thumbprint Cookies with Jam
A Timeless Treat: Thumbprint Cookies
Few things bring as much warmth and nostalgia as a tray of freshly baked thumbprint cookies. Whether they remind you of festive gatherings or you’re looking to create a new baking tradition, these jam-filled cookies are a must-try. In this comprehensive guide, you’ll learn how to make classic thumbprint cookies with jam step by step, from choosing the finest ingredients to achieving the perfect texture. Let’s dive in!
Table of Contents
Essential Ingredients for Thumbprint Cookies
For your convenience, here’s a table summarizing the key ingredients:
| Ingredient | Amount |
|---|---|
| Unsalted butter (softened) | 1 cup (2 sticks) |
| Granulated sugar | 1/2 cup |
| Egg yolk | 1 large |
| Vanilla extract | 1 teaspoon |
| All-purpose flour | 2 cups |
| Salt | 1/4 teaspoon |
| Jam (any flavor) | 1/2 cup |
Step-by-Step Instructions for Perfect Thumbprint Cookies
1. Preparing the Dough
- Beat the butter and sugar together until creamy and fluffy.
- Incorporate the egg yolk and vanilla extract, mixing until smooth.
- Slowly incorporate the flour and salt, mixing gently until the dough comes together into a smooth and pliable consistency.
- Wrap the dough in plastic wrap and chill for 30 minutes to enhance texture.
2. Shaping the Cookies
- Preheat your oven to 350°F (175°C).
- Line a baking sheet with parchment paper.
- Roll the dough into 1-inch balls and arrange them 2 inches apart.
- Press your thumb or the back of a teaspoon into each dough ball to create a shallow well.
3. Adding the Jam Filling
- Spoon 1/2 teaspoon of jam into each indentation. Some delicious options include:
- Raspberry
- Apricot
- Strawberry
- Blackberry
- Avoid overfilling to prevent the jam from overflowing while baking.
4. Baking the Cookies
- Bake for 12-15 minutes, or until the edges are lightly golden brown.
- Allow the cookies to cool on the baking sheet for 5 min before transferring them to a wire rack to cool completely.
5. Serving and Storing
- For the best flavor and texture, serve the cookies at room temperature.
- Keep in an airtight container for up to 1 week.
- Freeze for up to three months for long-term storage.
Expert Tips for Baking Success
- Choose a high-quality jam to ensure rich, vibrant flavor.
- Refrigerate the dough before baking to help preserve its shape and texture.
- Repress indentations halfway through baking if they lose their shape.
- Sprinkle with powdered sugar for a sophisticated final touch.
- Experiment with extracts, such as almond or lemon, for unique variations.
Frequently Asked Questions (FAQ)
1. Can I use different types of jam?
Absolutely! Try raspberry, strawberry, apricot, or even a mix for variety.
2. Why did my cookies spread too much?
Overly soft butter or insufficient chilling can cause excessive spreading. Ensure your dough is well-chilled before baking.
3. Can I make thumbprint cookies without eggs?
Yes! Replace the egg yolk with 1 tablespoon of milk or a flax egg (1 tablespoon ground flaxseed + 2.5 tablespoons water).
4. How do I prevent the jam from leaking?
Use thick jam and avoid overfilling the indentations to keep the jam in place.
5. Can I make gluten-free thumbprint cookies?
Yes! Substitute all-purpose flour with a gluten-free baking blend for a delicious gluten-free option.
Final Thoughts & Call to Action
Baking classic thumbprint cookies with jam is a rewarding experience that brings joy to any occasion. These cookies balance buttery richness with a sweet jam center, making them a beloved treat for all ages. Whether you’re baking for a holiday or simply indulging in a homemade treat, this recipe is sure to impress.
Now it’s your turn! Try out this recipe, experiment with different jam flavors, and share your baking experience in the comments. Don’t forget to subscribe to our newsletter for more delicious recipes and expert baking tips!